
Essential Tips for Installing Acoustic Wall Panels Effectively
When it comes to improving the acoustic quality of a room, installing acoustic wall panels is one of the most effective and visually appealing solutions. These panels are specifically designed to absorb sound and reduce noise, transforming any space into a more comfortable and functional environment.
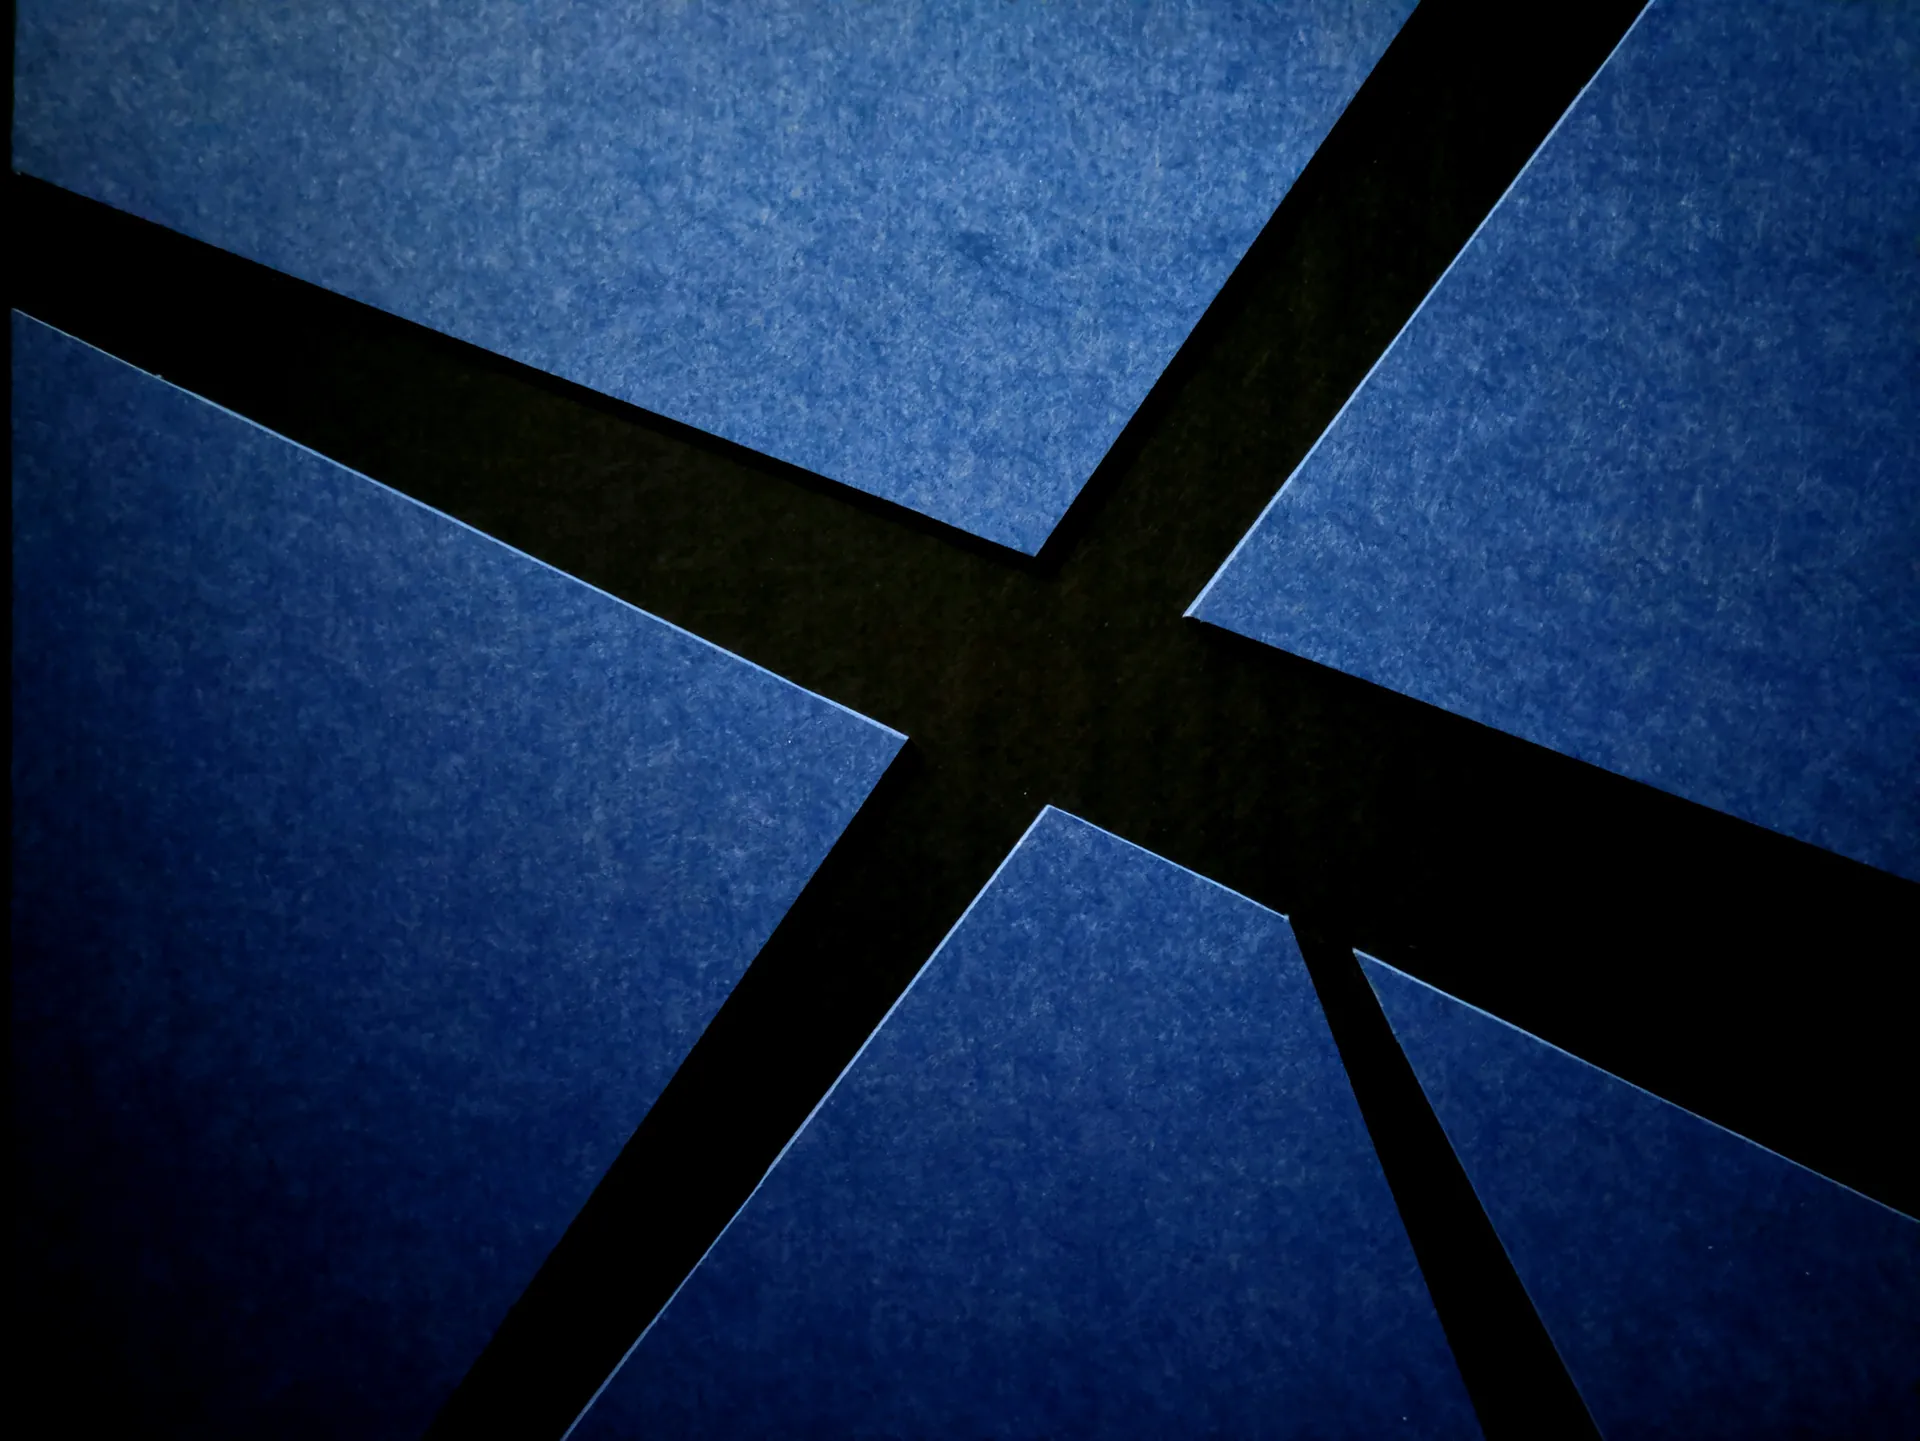
Whether you're a musician aiming to optimize your home studio, a homeowner looking to reduce echo in your living room, or an office manager seeking better acoustics in a conference room, acoustic wall panels are a great option. They come in a variety of materials, including wood, fabric, and foam, offering both practical benefits and decorative styles to complement your interior design.
From slat wood wall panels to custom acoustic art panels, and from ceiling panels to bass traps, the wide range of available products ensures you can find the perfect solution to suit your needs and budget.
Preparation and Planning

Assessing Your Space
Before starting the installation of acoustic wall panels, it's essential to evaluate the space where they will be placed. Measure the dimensions of the wall or ceiling to determine the number of panels needed and how they should be arranged. Take into account the layout and design elements, such as the location of furniture, windows, and doors, as these can influence the placement of the panels.
Ensure that the surface is clean, dry, and free from debris or imperfections. Any cracks or damages should be repaired to create a smooth, even surface for the panels.
Choosing the Right Panels
Choosing the appropriate acoustic panels is critical to achieving your desired sound control. Consider factors such as the material, type, and Noise Reduction Coefficient (NRC) rating of the panels.
For spaces requiring substantial echo reduction, like recording studios or conference rooms, opt for panels with high NRC ratings. Acoustic foam panels work well for mid- to high-frequency sound absorption, while perforated wood or slat wood panels offer a stylish appearance and are effective across various frequencies.
Gathering Necessary Tools and Materials
To streamline the installation process, gather all required tools and materials in advance. Commonly needed items include a measuring tape, a fine-tooth or sharp saw for cutting panels, masking tape, sandpaper, black screws, and a level.
Depending on the installation method, you may also require battens, construction adhesive, or Z-clips. For personal safety, use safety goggles and gloves. Additionally, ensure you have a hand drill or screwdriver and any other specific tools recommended for your chosen installation method.
Installation Techniques
Accurate Measuring and Marking
To ensure a seamless installation, accurate measuring and marking are essential. Start by measuring the width and height of your wall to determine the optimal placement and number of panels needed. Use a measuring tape to mark the cutting lines on the panels with a pencil and masking tape.
This step is essential to avoid any errors during the cutting process. For example, if you are installing panels around skirting, you only need to cut them to the top of the skirting board to protect the panels from knocks and scratches.
When marking the wall for panel placement, use a level to ensure the marks are straight and evenly spaced. A simple formula can help you calculate the distance between each panel: measure the length of the wall, subtract the total width of all the panels, and then divide that figure by the number of gaps between panels (or by the number of panels plus one). This method ensures that the panels are equally spaced and aesthetically pleasing.
Secure Fixing Methods
There are several methods to securely fix acoustic wall panels, each with its own advantages. One common method is using a soundproof adhesive, such as PL Premium Polyurethane Construction Adhesive. Before applying the adhesive, sand the surface to ensure a smooth and even bond.
Apply the adhesive to the back of the panel in a pattern that includes a perimeter line and additional circles or an "X" shape to distribute the adhesive evenly. Then, attach the panel to the wall and allow the adhesive to cure for about a day.
Another method is the Z-clip system, which is particularly useful if you plan to rearrange the panels in the future. This involves attaching Z-clips to the mounting surface and then clipping the panel onto the Z-clips.
Ensure the Z-clips are level and aligned with your marks before screwing them into place. This method is more intrusive but offers greater flexibility.
For a more traditional approach, you can use screws and wall anchors. Mark the drill points on the wall, drill holes, insert anchors, and then screw the panel into place.
Starting with three holding screws in the middle and then adding more as needed helps keep the panel flat and secure.
Handling Corners and Edges
When dealing with corners and edges, special care is necessary to ensure a professional finish. For corners, you can use custom-cut panels or special corner pieces designed to fit snugly into the angle.
Make sure to measure carefully to avoid any gaps or misalignments. For edges, particularly if you are installing panels around skirting or other obstructions, cut the panels to fit precisely. If necessary, use a fine-tooth or sharp saw to make precise cuts, and then sand the cut edges to smooth them out.
This attention to detail will help maintain the aesthetic appeal of your installation and ensure that the panels function optimally. By following these techniques, you can achieve a well-installed set of acoustic wall panels that not only enhance the sound quality of your room but also add a touch of elegance to your decor.
Evaluating and Adjusting

Post-Installation Review
After installing your acoustic wall panels, it is essential to conduct a post-installation review to assess their effectiveness. This involves measuring the acoustic improvements and listening to the sound quality in the room. Tools like sound level meters or acoustic analysis software can help measure parameters such as the Reverberation Time (RT60) and frequency response.
For instance, if you've installed slat wood wall panels, you might notice a significant reduction in decay time for frequencies above 300 Hz, as observed in some before-and-after measurements. Listen to the room with and without the panels to get a subjective feel for the improvements.
Pay attention to how the sound reflects off the walls and ceiling, and whether there is a noticeable reduction in echo and reverberation. This hands-on evaluation will help you determine if the panels have addressed the specific acoustic issues you were trying to resolve.
Maintenance Tips
To ensure your acoustic wall panels continue to perform optimally, regular maintenance is important. Start with routine inspections to check for any signs of damage, wear, or sagging. Early detection of issues allows for timely repairs or replacements, preventing further deterioration.
Regular vacuuming is another key maintenance task. Use a vacuum cleaner with a soft brush attachment to gently clean the surface of the panels, especially for fabric-wrapped or foam panels. This prevents dust and dirt from accumulating and clogging the pores of the material, which can reduce the panel's sound-absorbing properties.
For fabric-wrapped panels, occasional deep cleaning may be necessary. Use mild soap and warm water, and always test any cleaning solution on a small, inconspicuous area first. Avoid using abrasive materials or excessive force, which can damage the fabric. For more stubborn stains, use a fabric-friendly stain remover, applying it to a cloth rather than directly to the panel.
Protecting your panels from excess moisture is also important. Avoid placing them in high-humidity areas such as bathrooms or kitchens, and consider using a dehumidifier if you live in a humid climate. This helps prevent moisture damage and mould growth, ensuring the panels remain effective and look their best.
By incorporating these maintenance tips into your routine, you can extend the lifespan of your acoustic wall panels and ensure they continue to enhance the sound quality and aesthetic appeal of your space.
Conclusion
Installing acoustic wall panels is a simple and effective way to improve the sound quality and overall comfort of any room. To summarize, it is essential to carefully assess your space, select the right panels based on your specific needs, and use precise measurements along with secure fixing methods during installation. After installation, evaluate the panels' effectiveness and maintain them regularly to ensure optimal performance.
Acoustic panels not only enhance sound quality by minimizing echo and reverberation but also improve communication, boost productivity, and create a more comfortable and stress-free environment. Whether you are a homeowner, office manager, or musician, investing in acoustic wall panels can significantly enhance your space. Take the first step today to transform your room into a more pleasant and functional area.
FAQ
What tools and materials are necessary for installing acoustic wall panels?
For installing acoustic wall panels, you will need the following tools and materials:
- Measuring tape
- Fine-tooth or sharp saw
- Masking tape
- Sandpaper
- Black screws
- Battens (optional)
- Level
- Hand drill
- Acoustic panels
- Adhesive glue (if not using battens and screws)
- Z-clips or other mounting hardware (depending on the chosen method)
How do I determine the optimal placement of acoustic wall panels in a room for maximum sound absorption?
To determine the optimal placement of acoustic wall panels, focus on the first reflection points where sound waves hit before reaching the listener's ears. These points are typically 3-6 feet up from the floor. Place panels on walls, ceilings, and in corners to absorb sound and reduce echo and reverberation.
Additionally, consider the room's size, shape, and the main source of noise.
What are the different methods for attaching acoustic wall panels to the wall, such as using adhesive, Z-clips, or screwing directly into the wall?
For attaching acoustic wall panels, several methods can be used:
- Adhesive: Use construction adhesives like PL Premium, often with temporary leveling brackets for support until the adhesive sets.
- Z-Clips: Interlocking clips that attach to both the panel and the wall, requiring precise measurement and drilling.
- Impaling Clips: Suitable for panels without backing, these clips are secured to the wall, and the panel is pressed onto the protruding teeth.
- Hook and Loop: Nylon or polyester fasteners that lock together, ideal for smaller panels and easy removal.
- Direct Screwing: For panels with a solid backing, screws can be used directly into the wall, often with plastic anchors or into studs.
How can I ensure the wall is safe and prepared before drilling or applying adhesive for the installation of acoustic wall panels?
To ensure the wall is safe and prepared:
- Clean the wall to remove dust, dirt, or debris.
- Repair any cracks or damages on the surface.
- Use a level to ensure the wall is even.
- Check for wires or pipes before drilling.
- Sand the surface if necessary for better adhesion.